LED jewels that add a little shine to any occasion.
Inspiration
My stepmom Lynn makes incredible glass bead jewelry (see her glass bead work and more at her Etsy shop) and heavily inspired my overall aesthetic for this project. Also Jiri Praus’ website (in Czech) was a huge inspiration, especially in the minimalistic battery/LED circuit.
Design
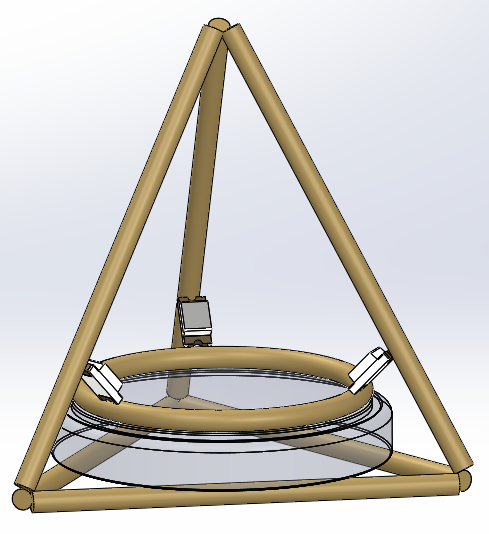
I modelled up the basic design in CAD using a 1” equilateral triangle as the base and making the overall height baout 1”. These dimensions ended up being quite nice for the CR2032 battery I used and the discrete 1206 SMD LEDs I used.
 |
|---|
| CAD model of Shinies |
Tooling
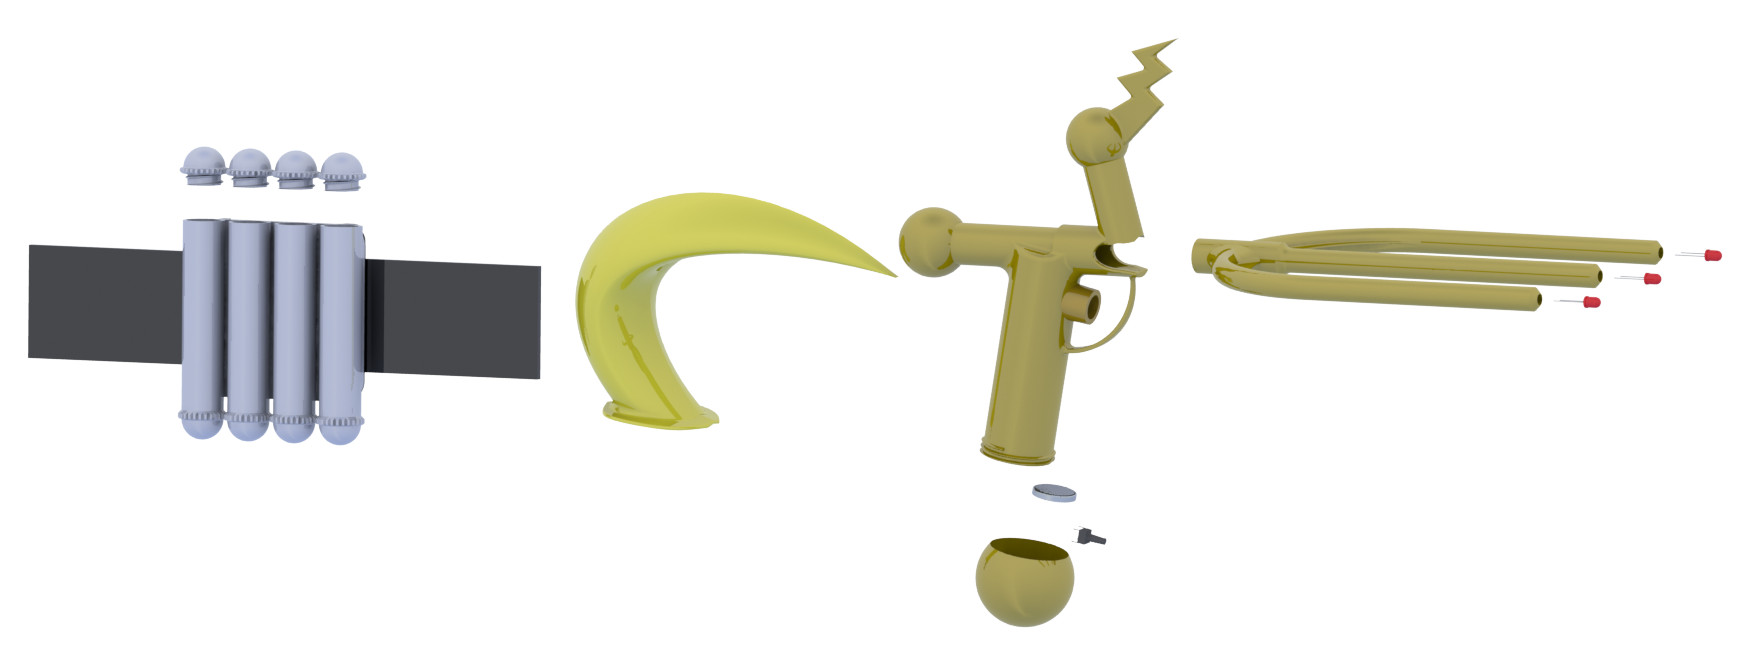
I made some basic fixtures to help in cutting the brass rod to length and holding things in place for soldering. I experimented a bit with bending the rod instead of cutting and soldering, but even the smallest bend radii I was able to achieve was quite large and I really liked the sharp corners I was able to achieve with soldering.
I also made a 3d-printed & silicone mold so that I could encase everything in epoxy. I 3D printed a 2-piece outer mold which would support the silicone and separate in half to allow me to remove the part. Then I printed a “positive” version of the tetrahedron and poured silicon between the positive and the outer mold. This worked pretty well and gave me a flexible silicone sleeve-mold that was about 1/8” thick.
Initial build
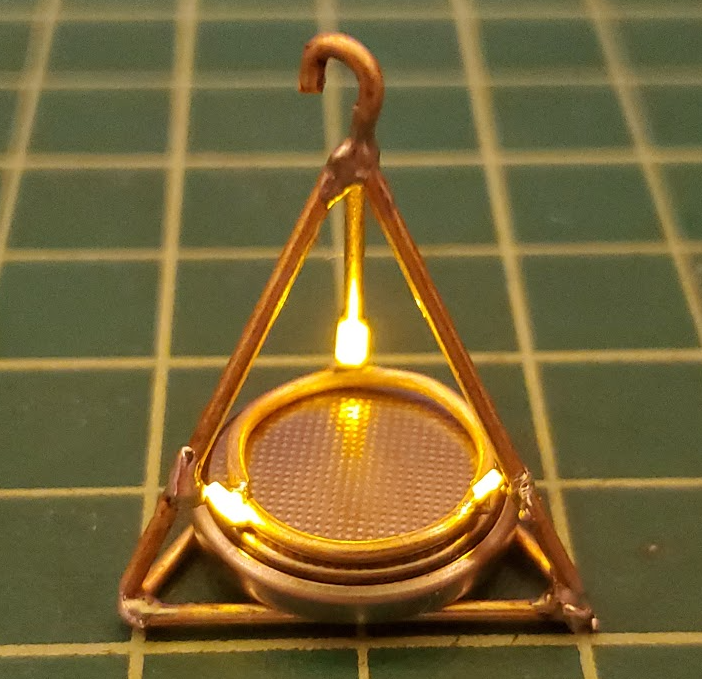
Once I had the brass rod cut and soldered into the wireframe, I set about adding the LEDs and the negative battery ring. This was the most challenging part of the build. I tried some different ways of fixturing things, but the LEDs are so small that it’s challenging to put supporting plastic near them that won’t melt when soldering. In the end I perservered, but this is an aspect of the assembly that is ripe for improvement.
 |
|---|
| Wireframe soldered up. Not too pretty, but it works! |
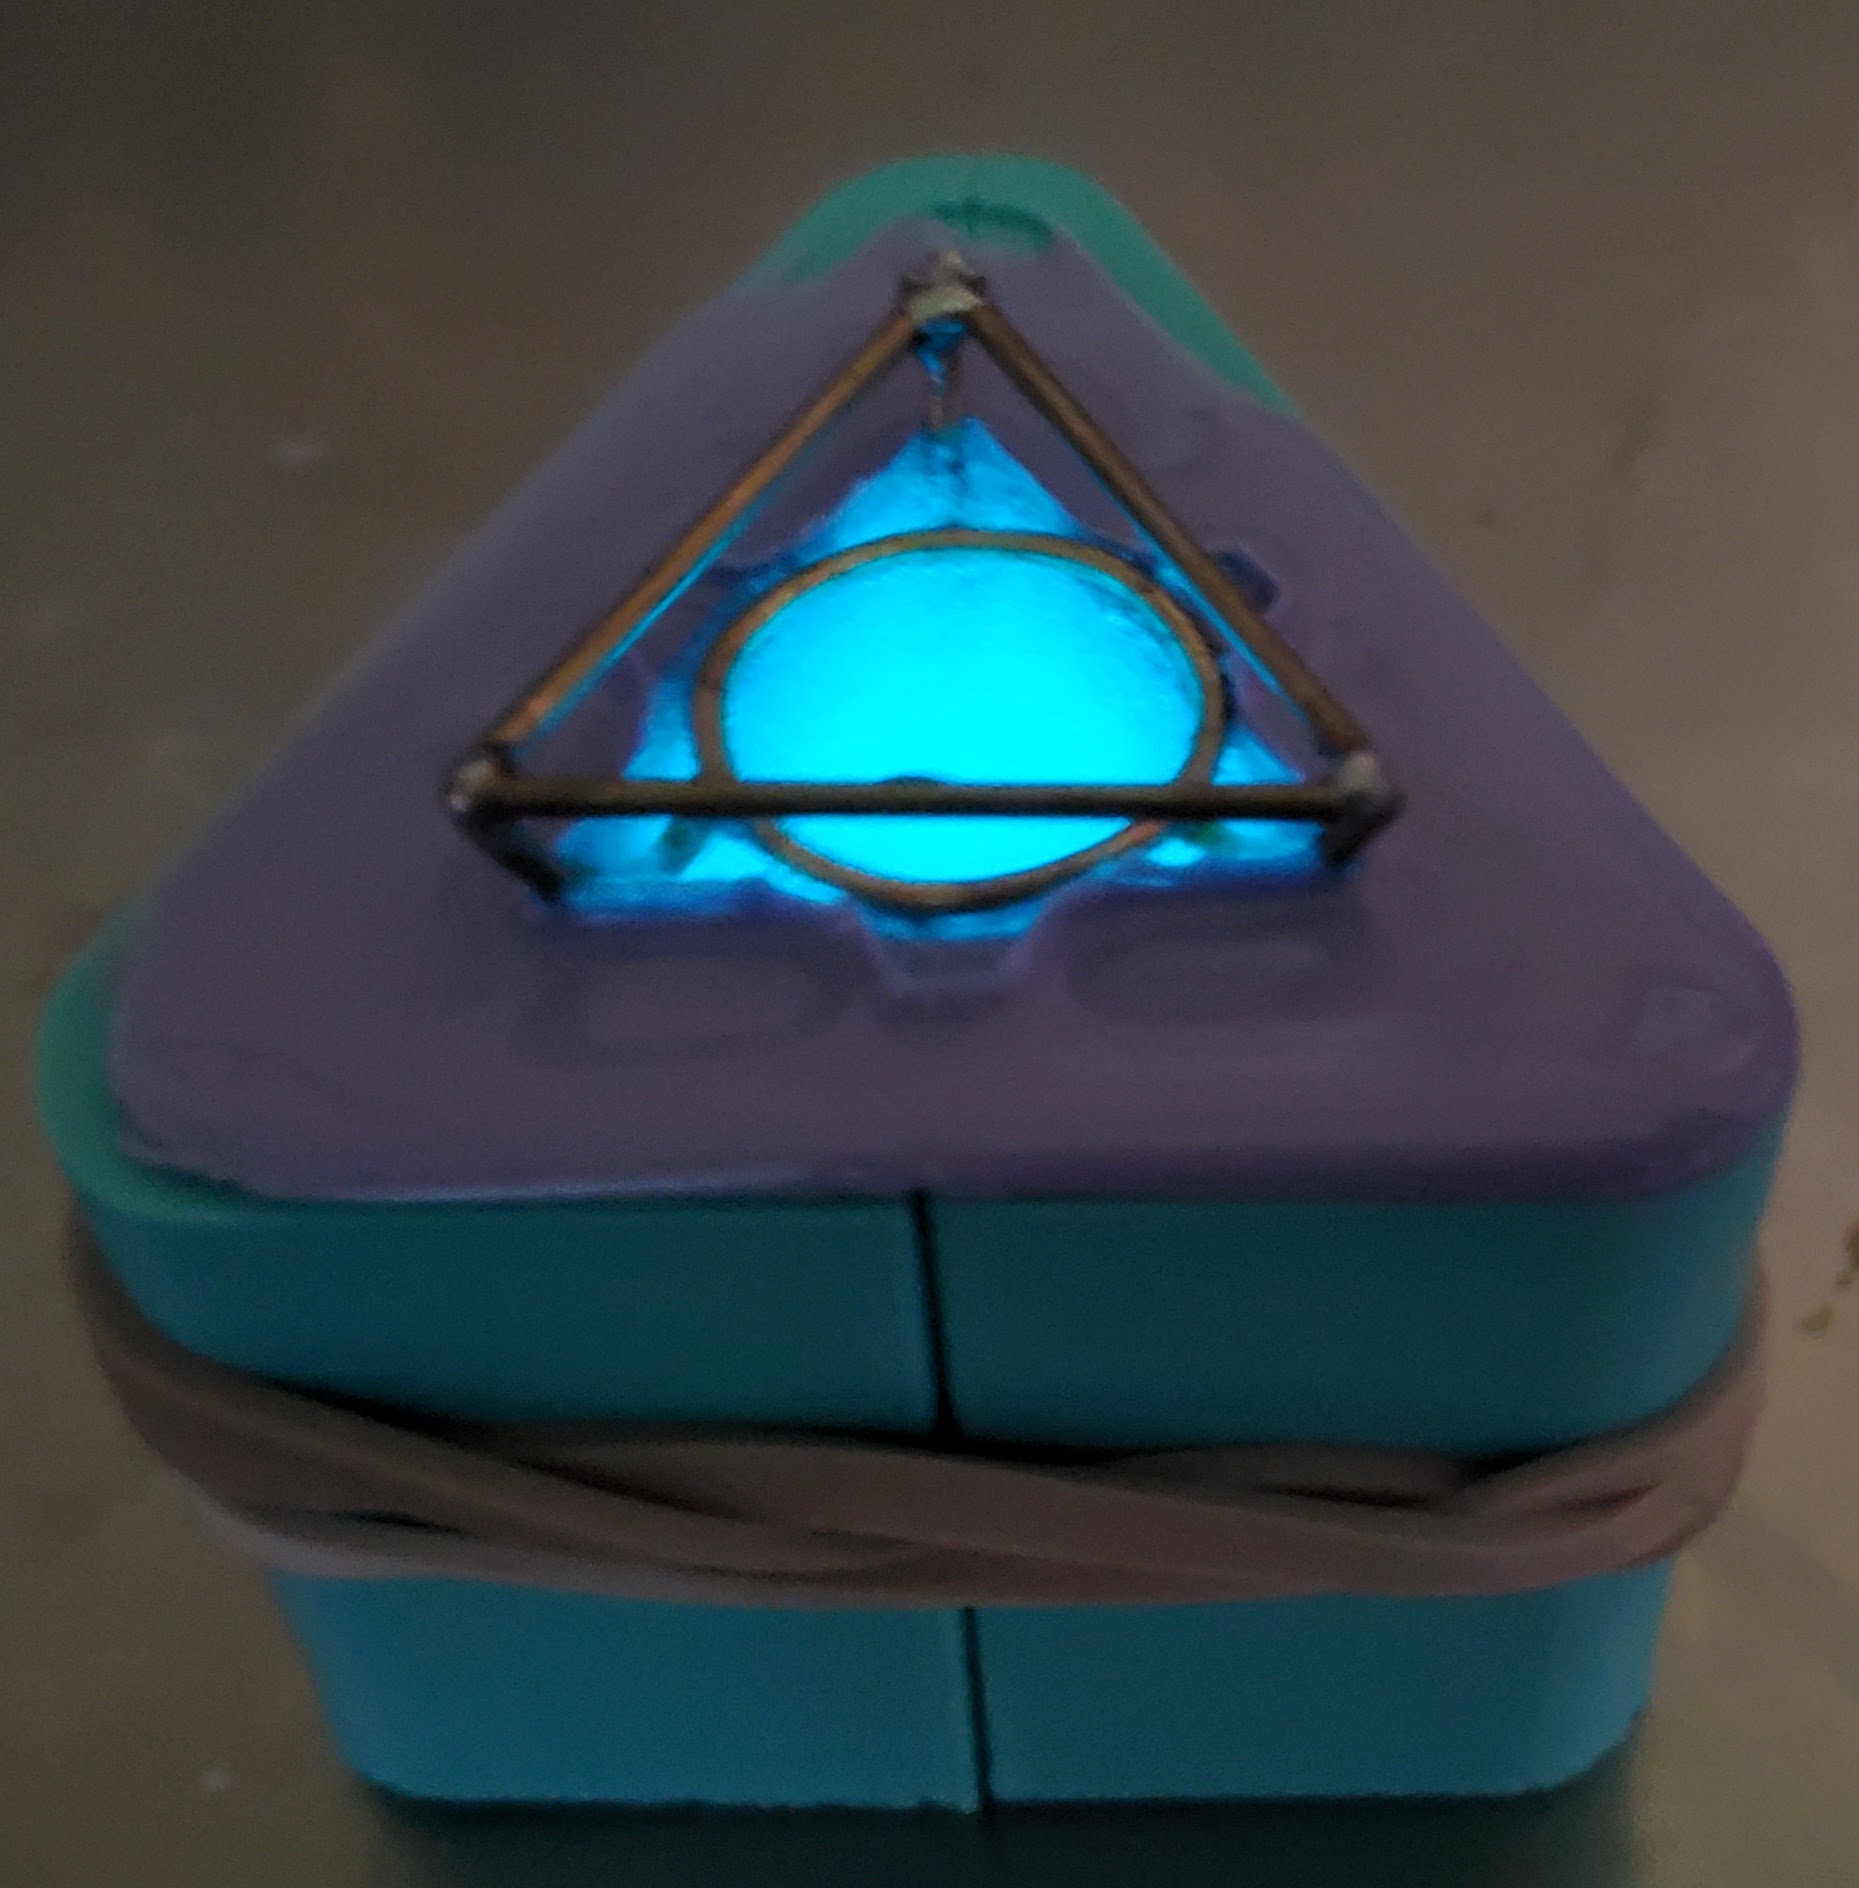
To cast these shinies, I used a bit of tabletop epoxy with some glow in the dark powder and coloring mixed in. It looked pretty cool when curing in the mold!
 |
|---|
| Bake Shinies at room temperature for 12-18 hours, preferrably in the dark |
Final result
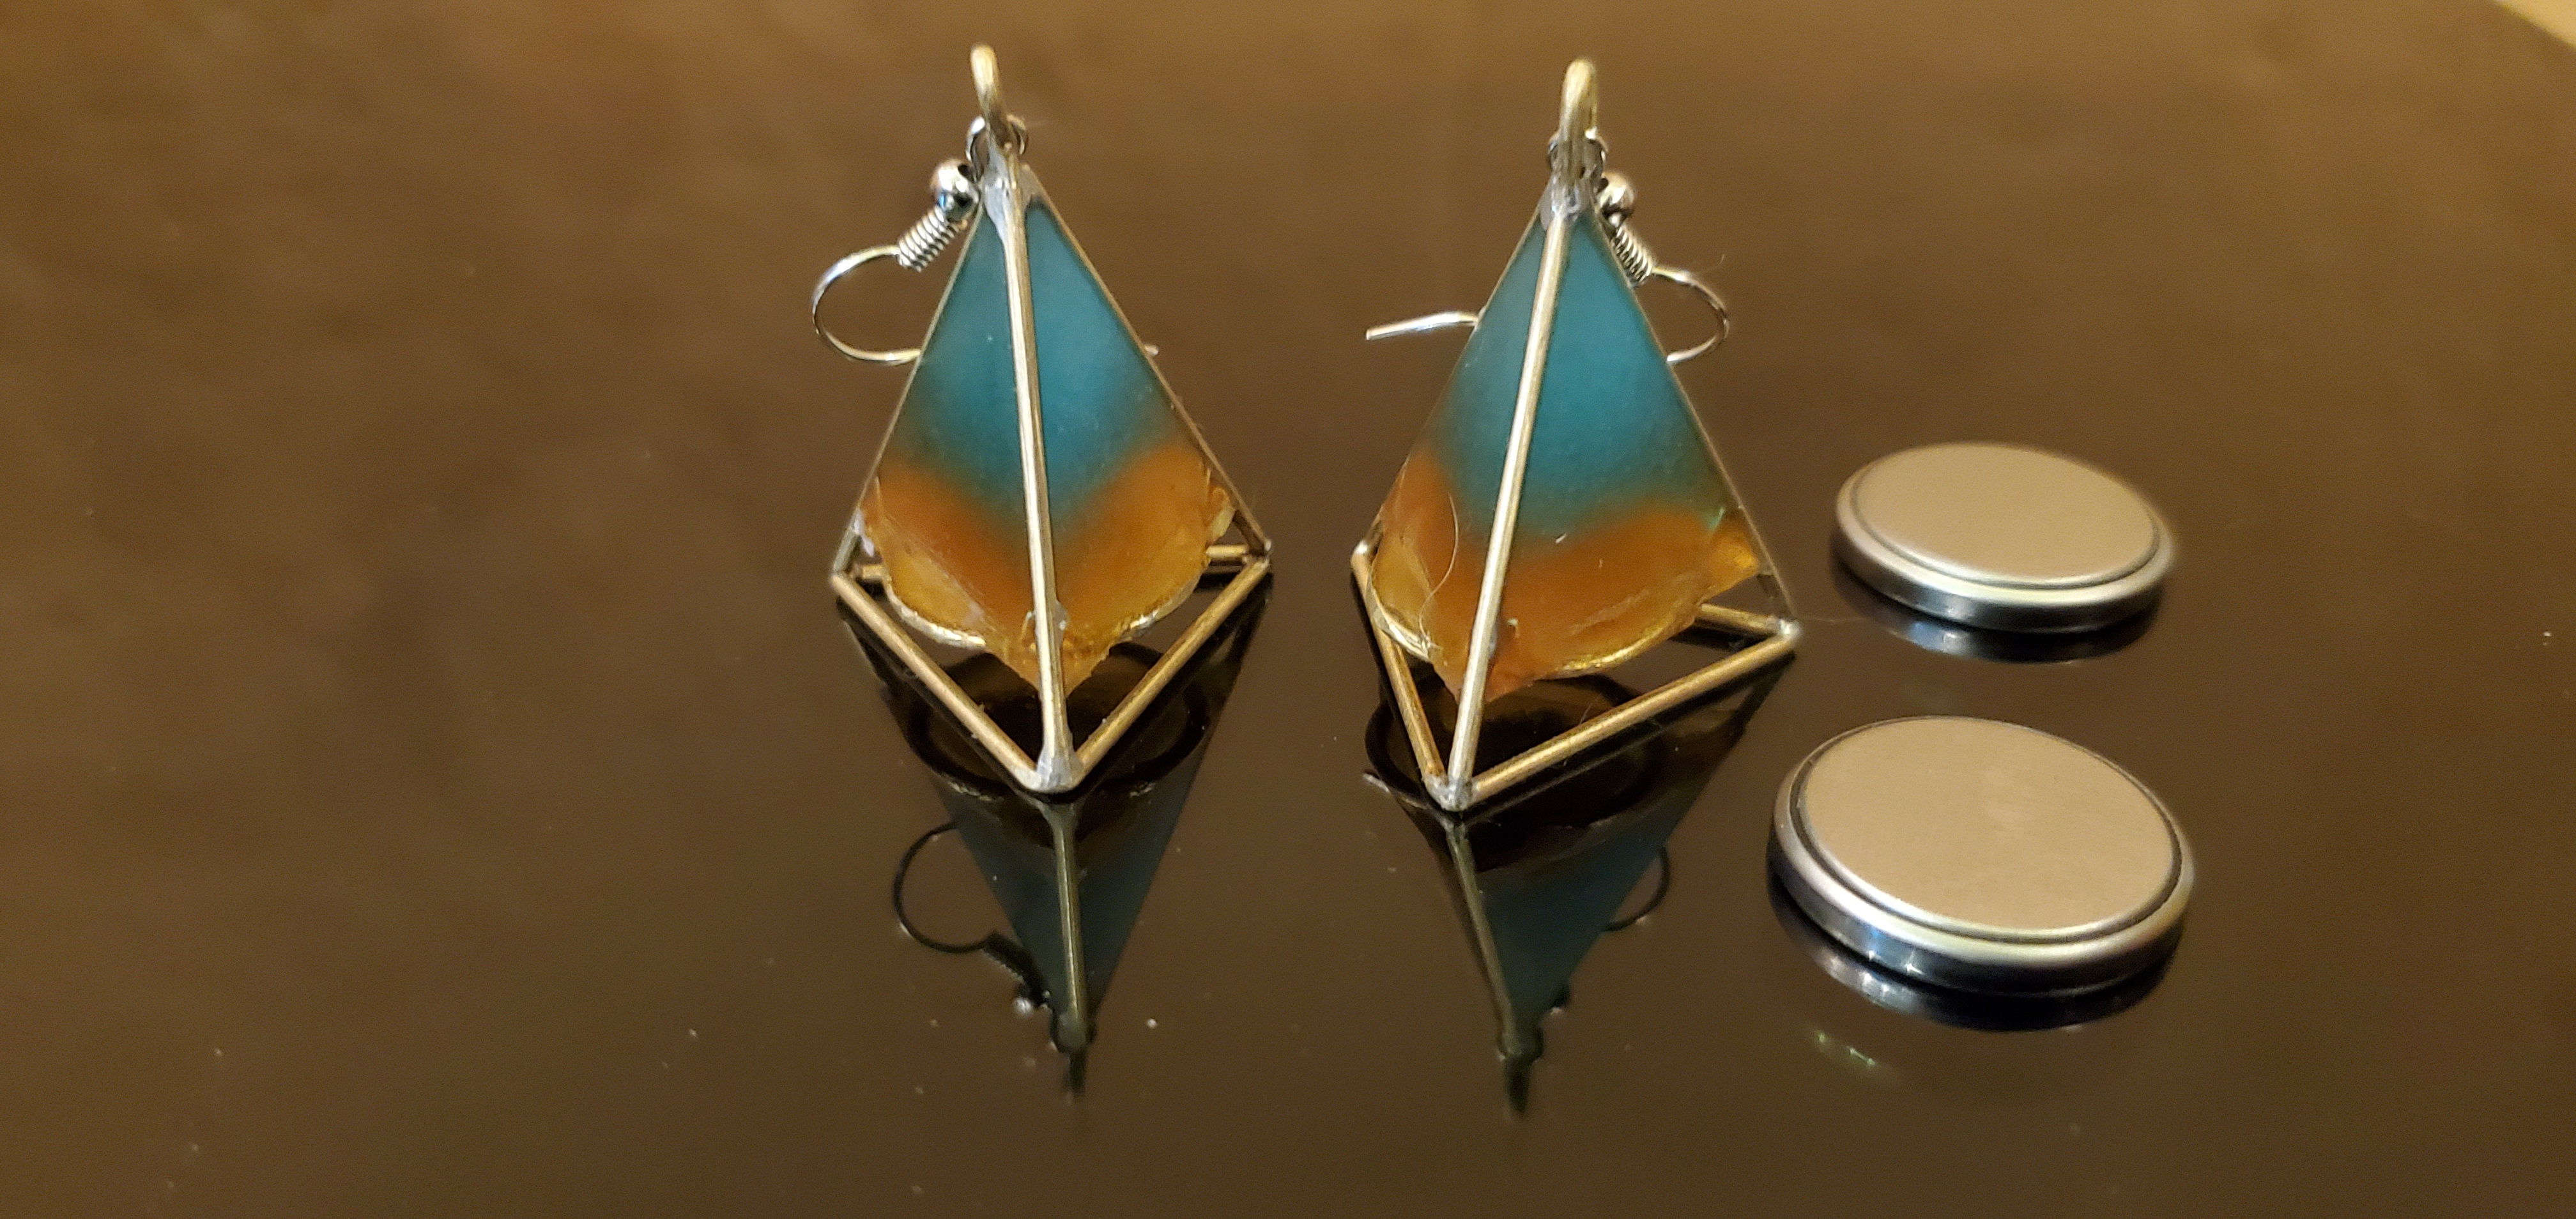
After plenty of sanding and a bit of polish, they’re ready!
 |
|---|
| Shinies after sanding and polishing |
 |
|---|
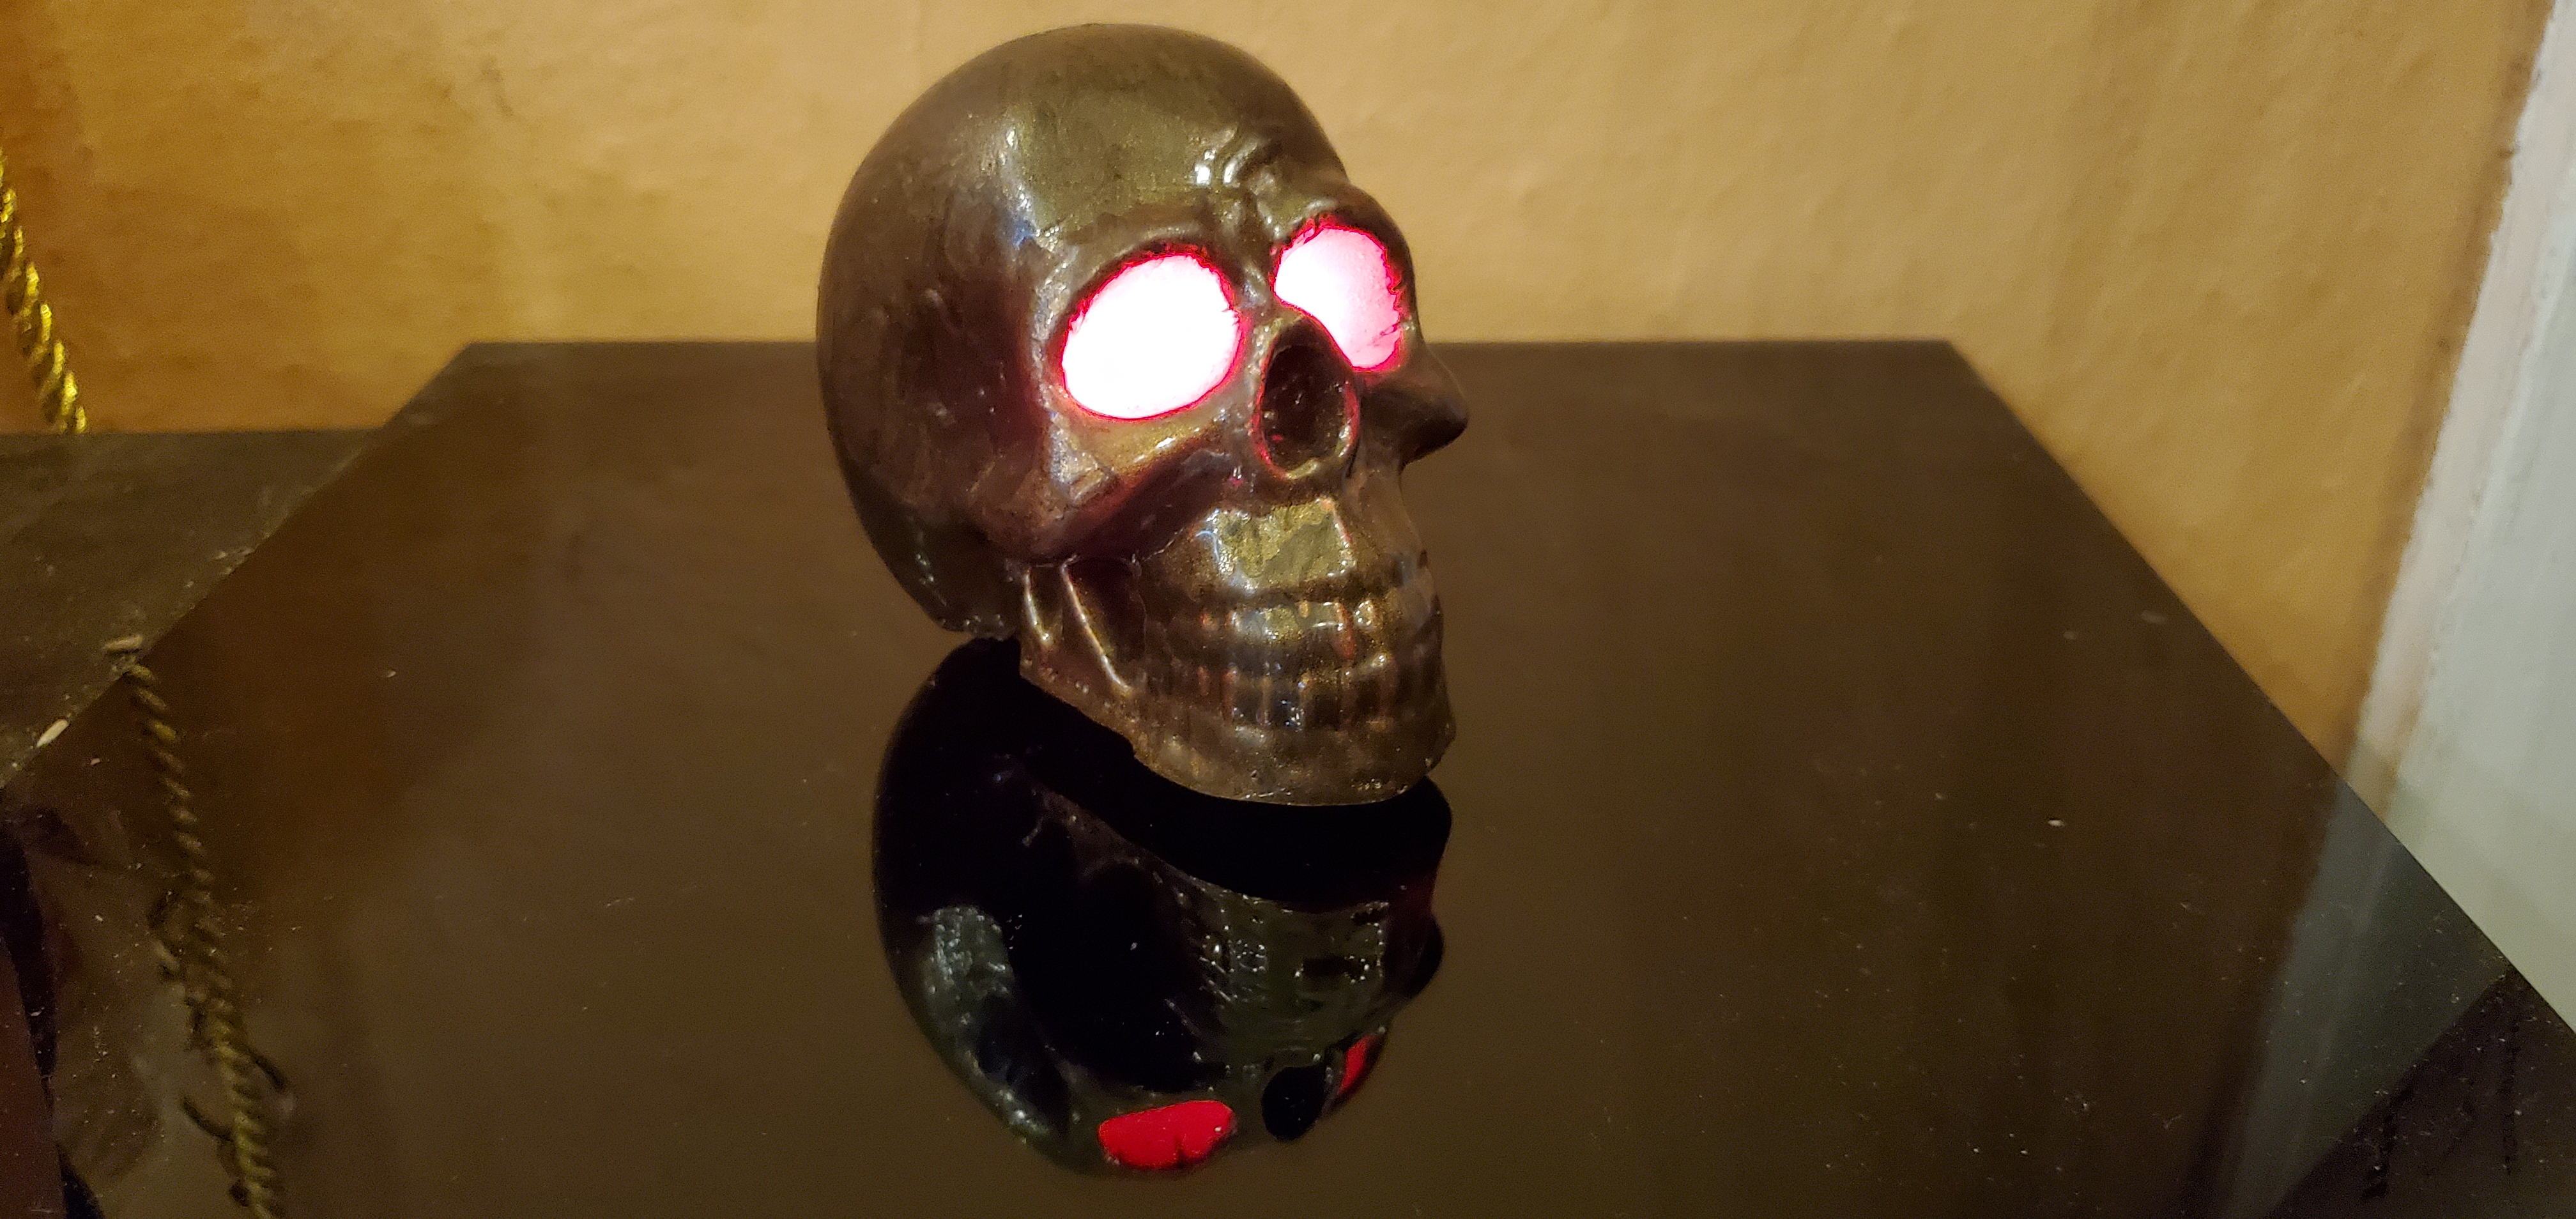
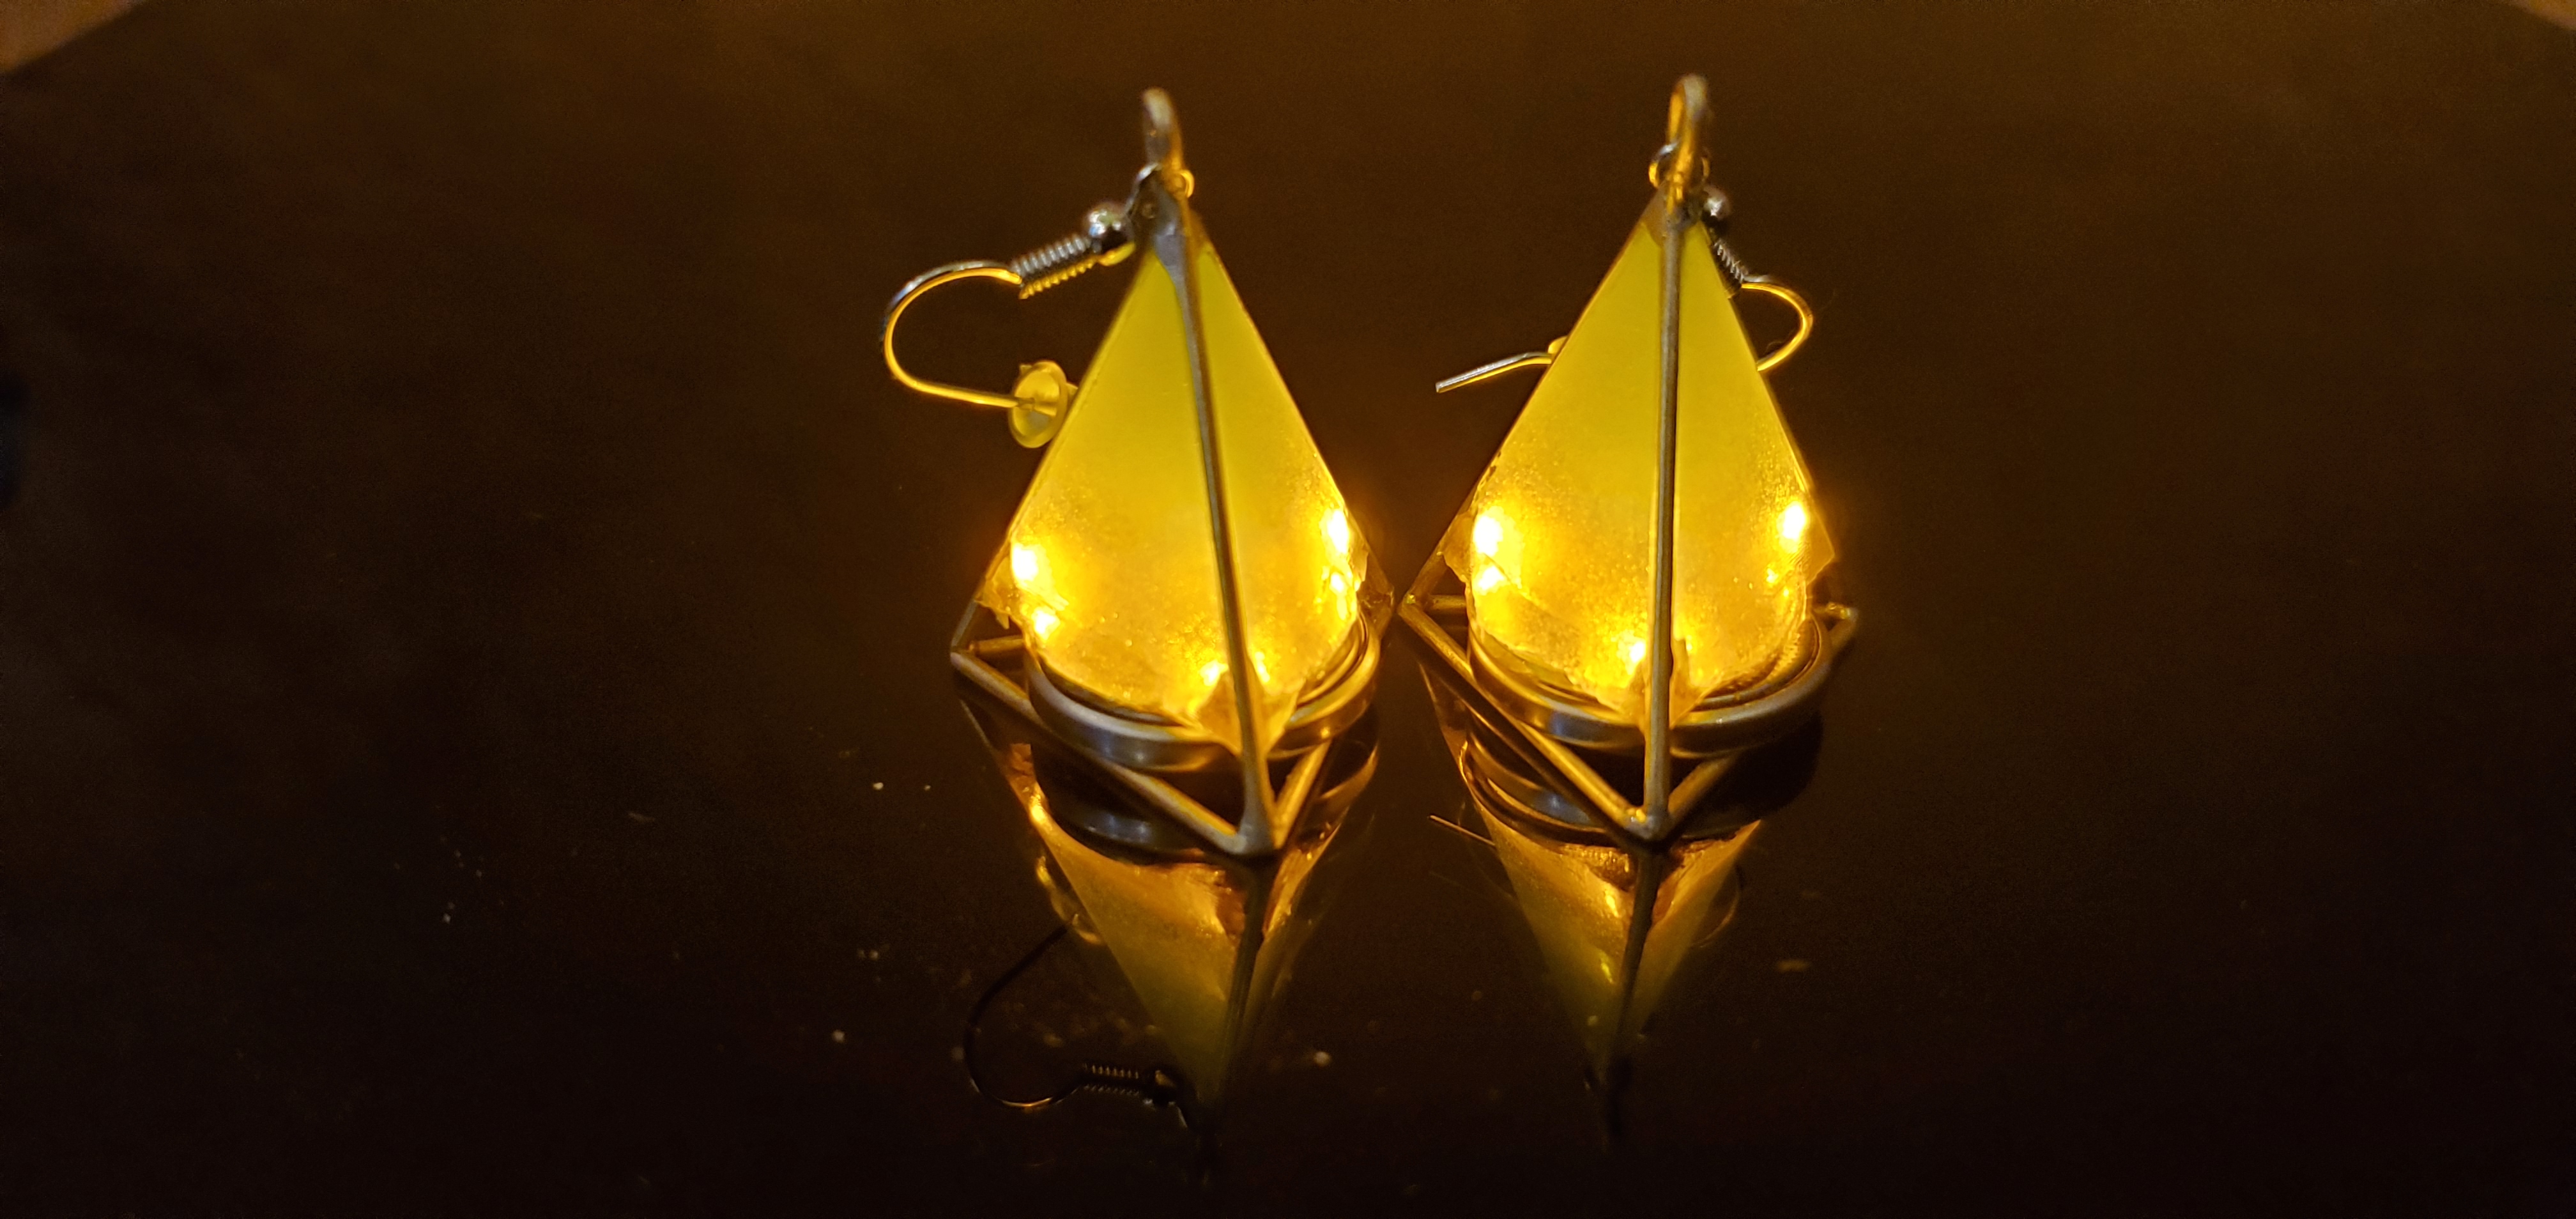
| Shinies lit up! |
 |
|---|
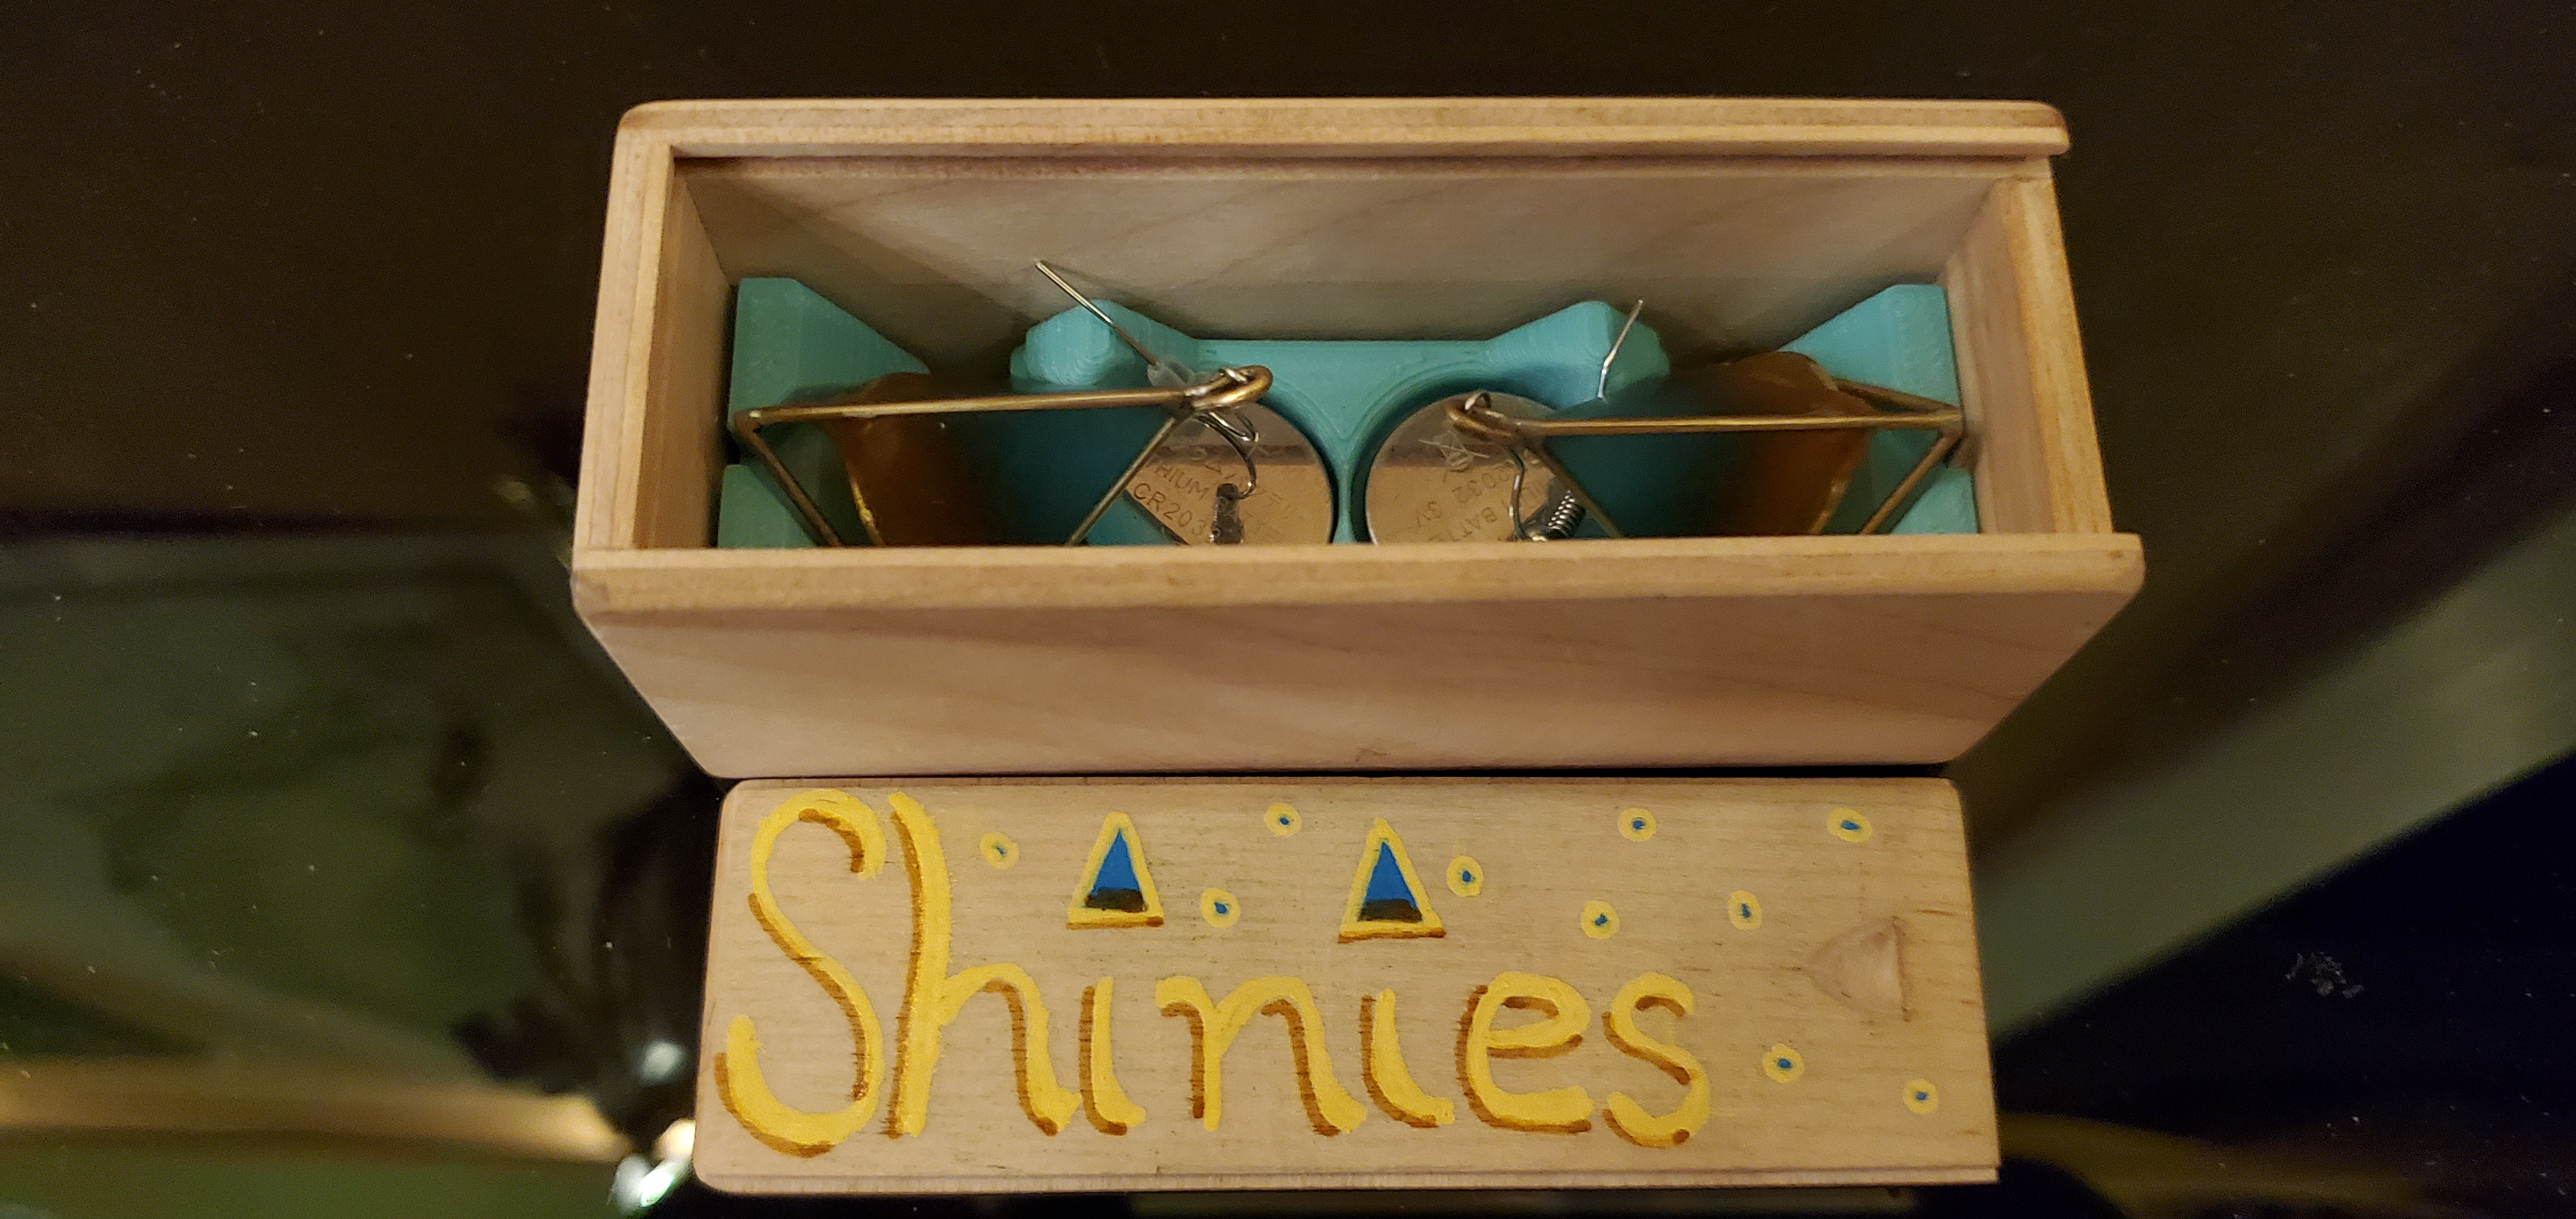
| Shinies packaged up |
 |
|---|
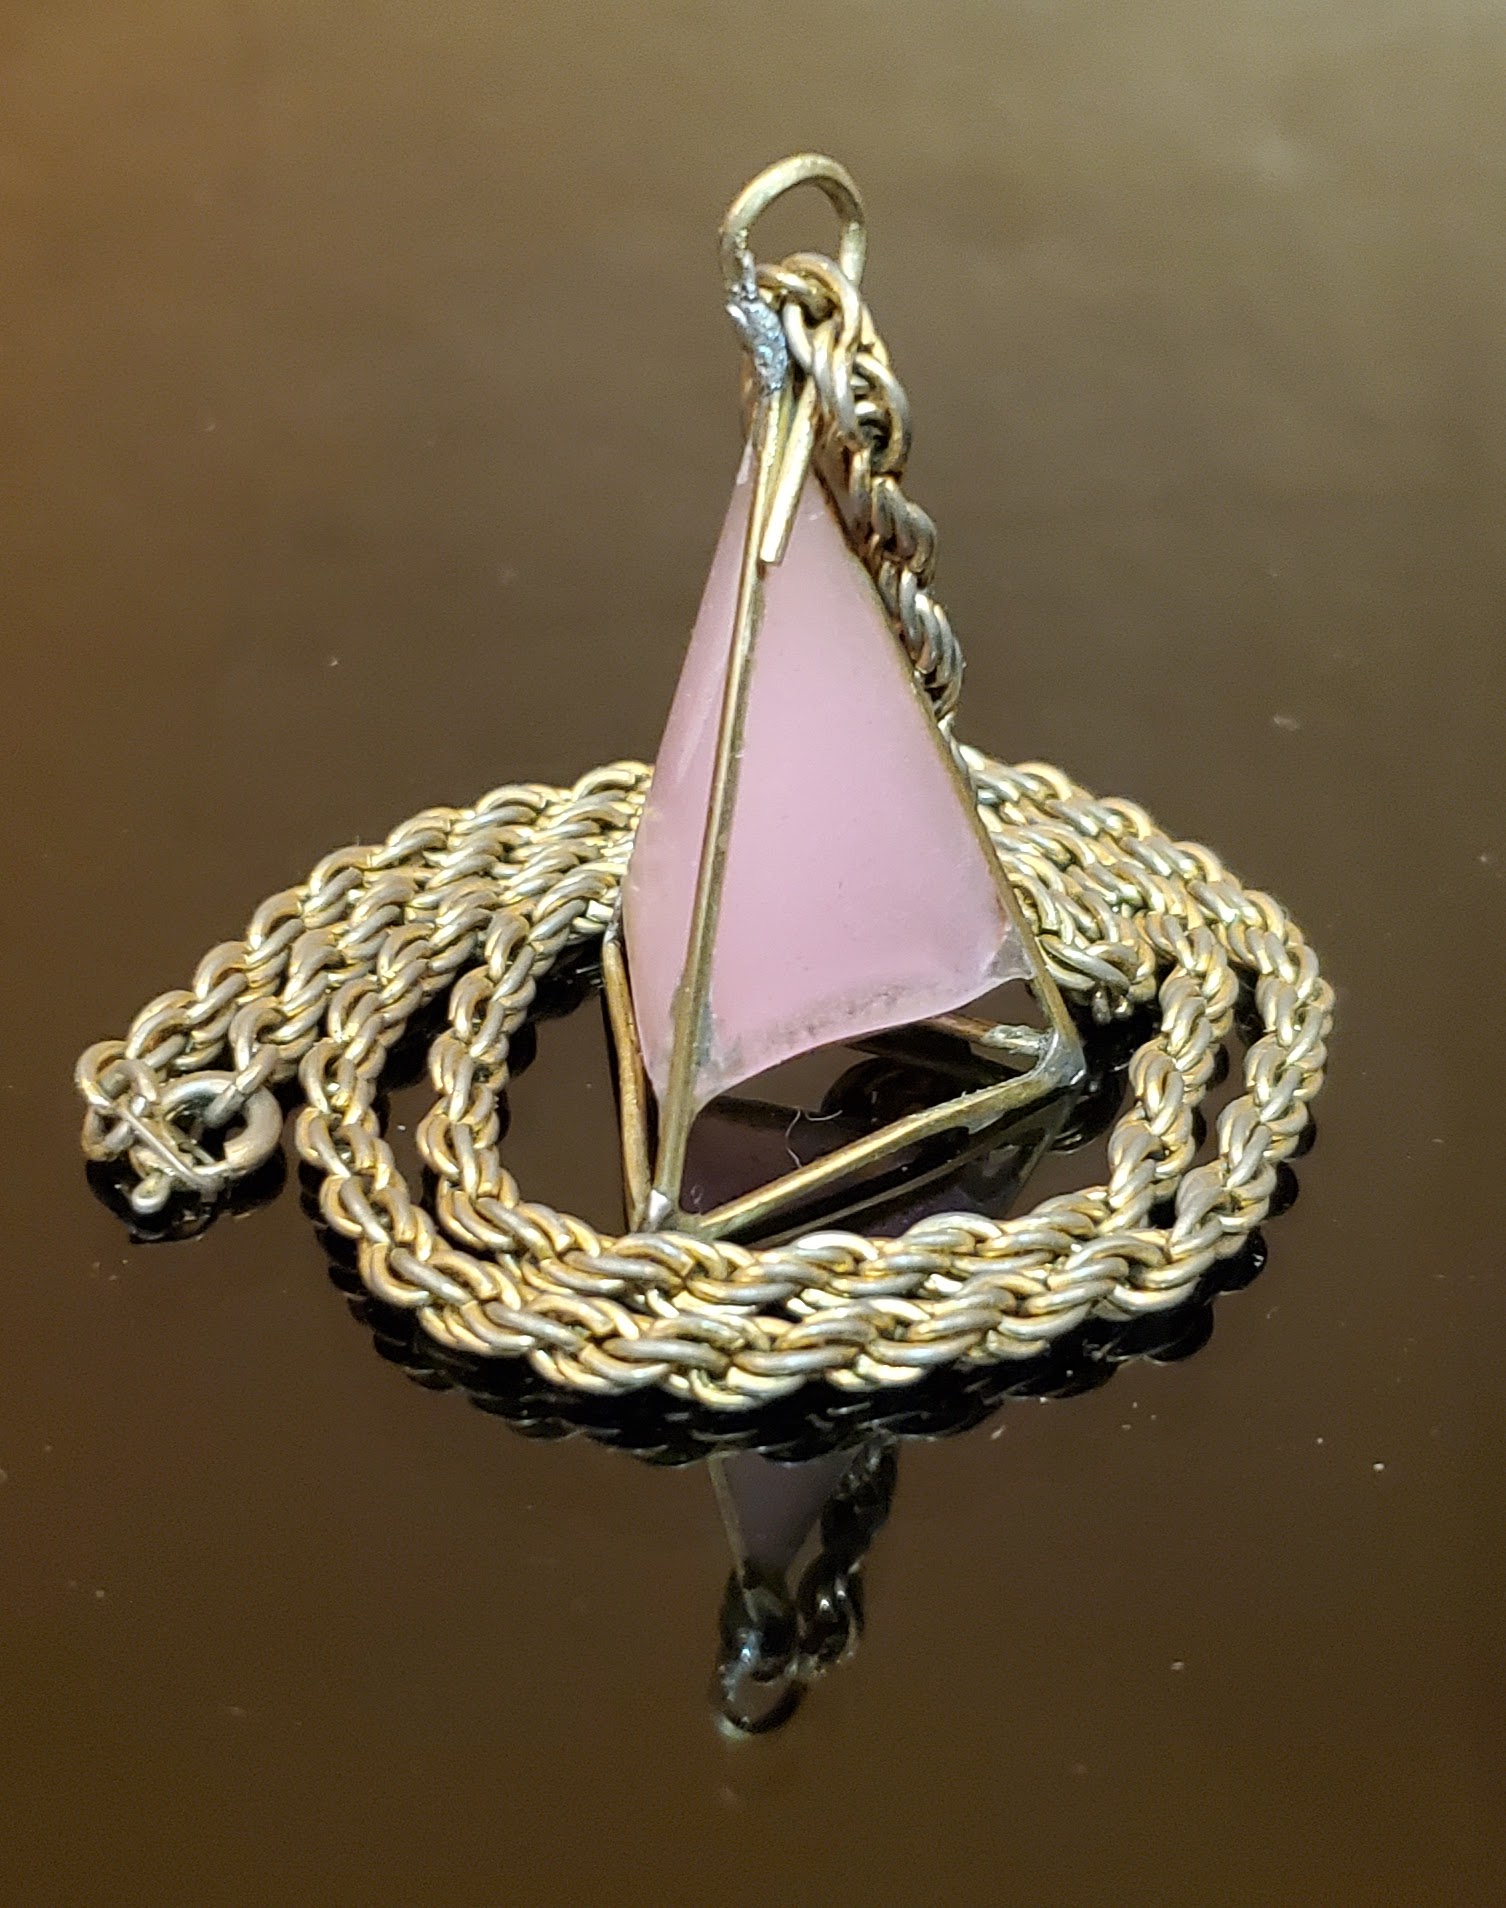
| Shinies necklace |
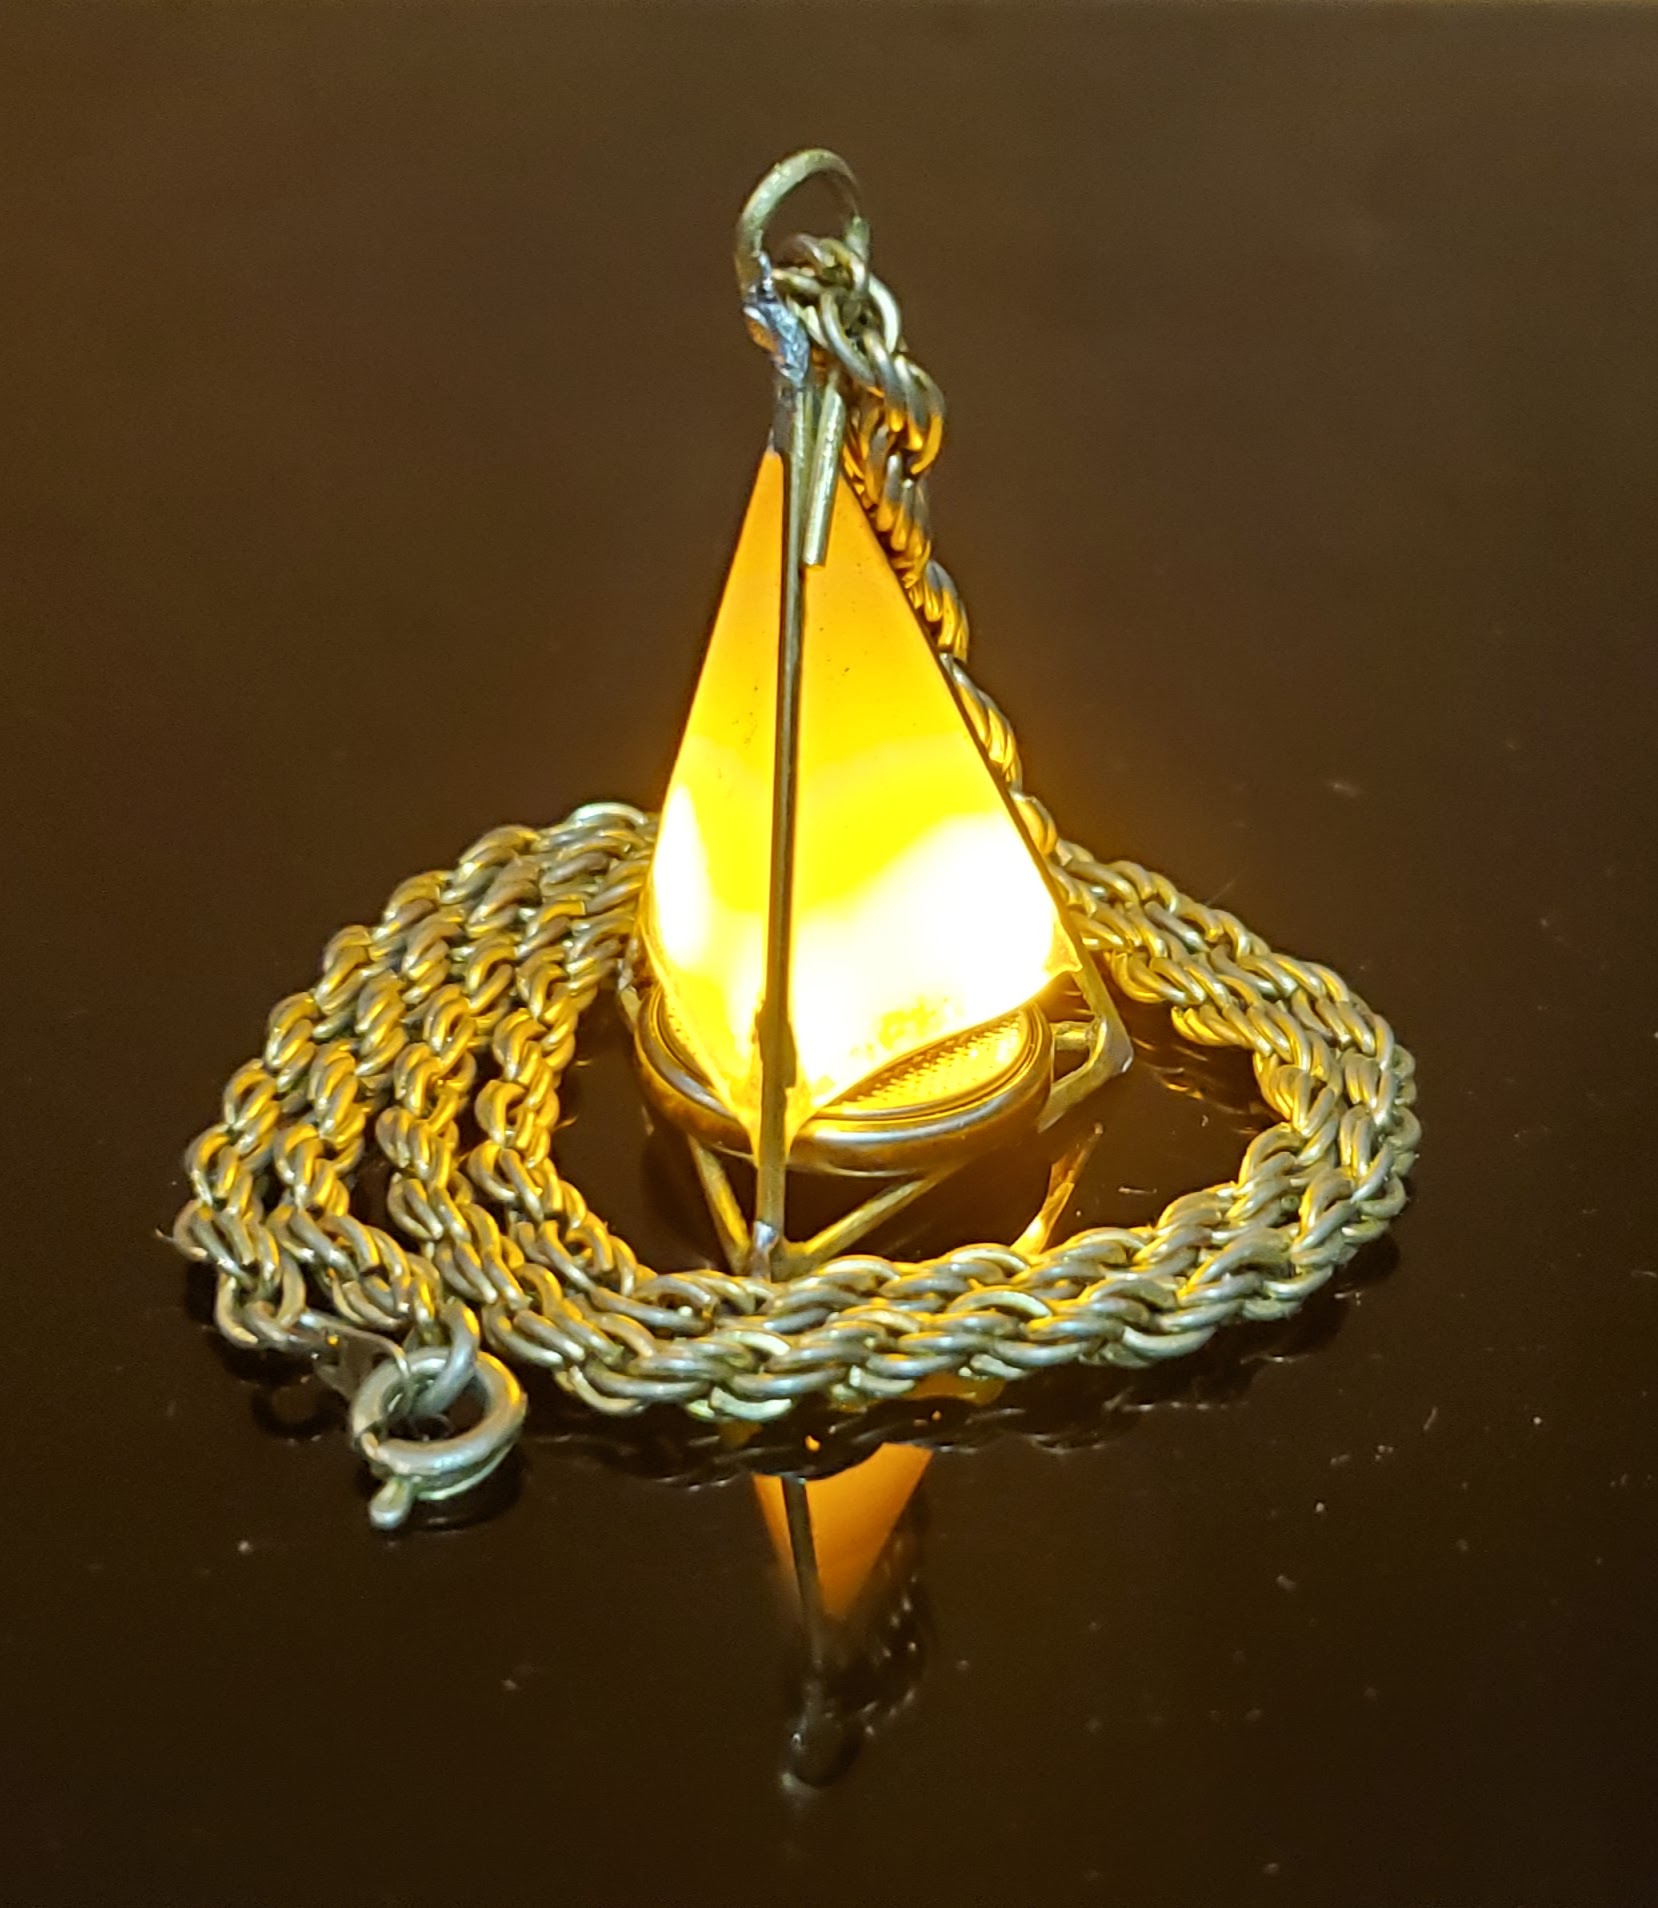 |
|---|
| Shinies necklace lit up! |